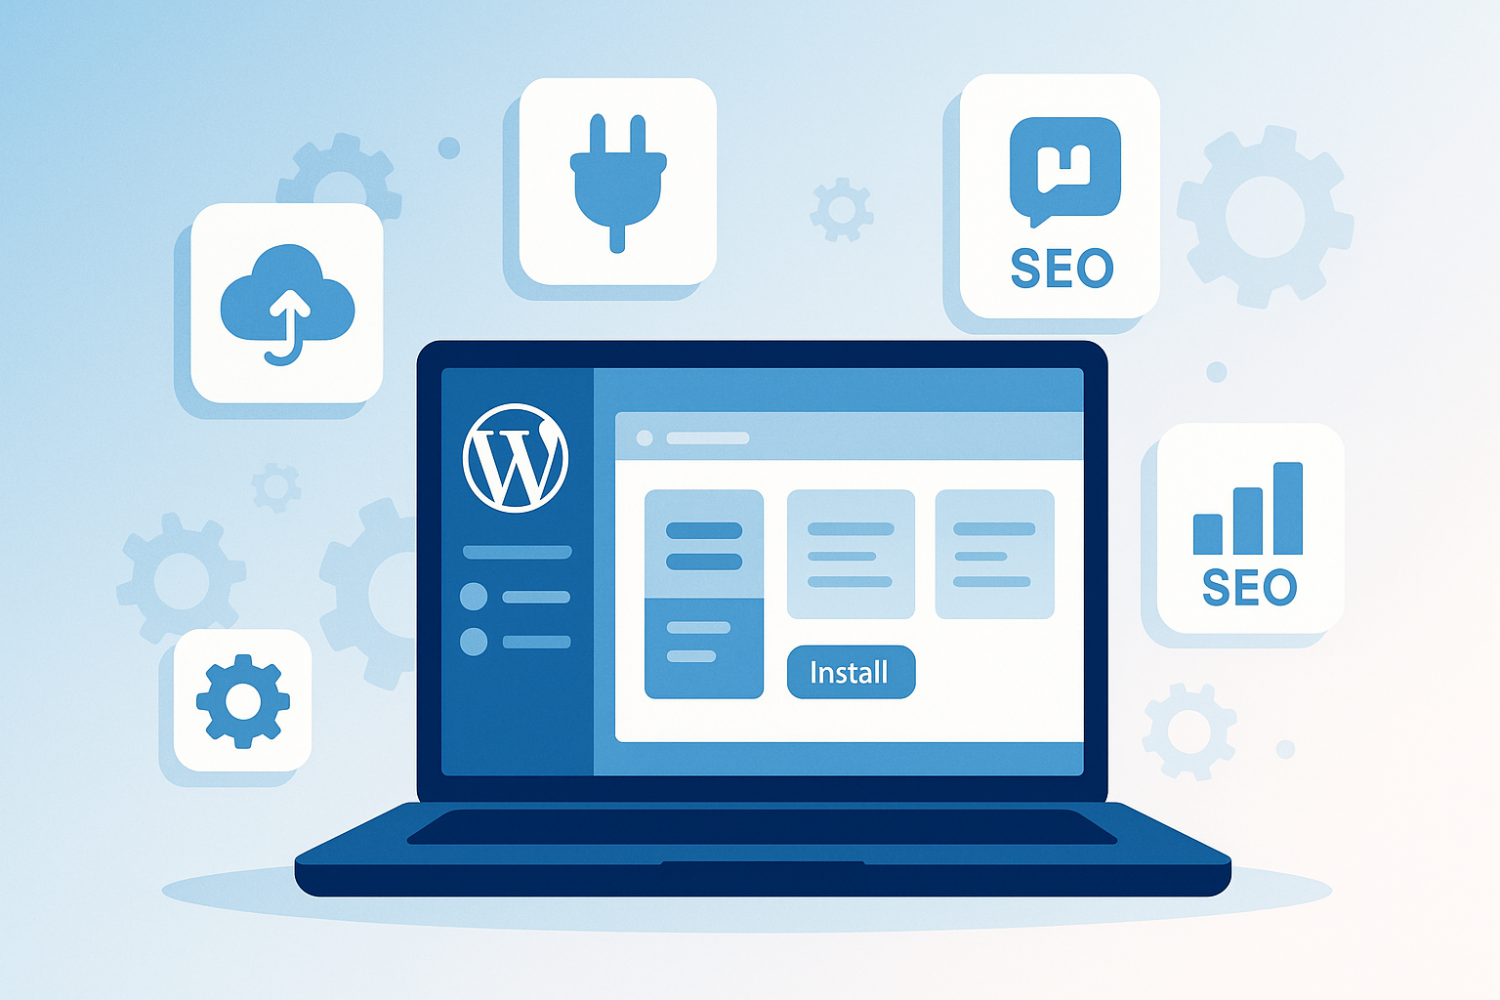
A Comprehensive Beginner's Guide to Installing WordPress Plugins

Understanding WordPress Plugins
WordPress plugins are essential tools that extend the functionality of a WordPress site, allowing users to add features and customize their websites without the need for extensive coding knowledge. These software components seamlessly integrate with the core WordPress software, enabling website owners to enhance their sites according to individual needs. By leveraging plugins, users can significantly improve the user experience, optimize site performance, and even implement various functionalities such as SEO enhancements, contact forms, and e-commerce capabilities.
There are thousands of plugins available in the WordPress Plugin Directory, catering to a wide range of purposes. Some common types include security plugins, which help protect against cyber threats; performance optimization plugins, which enhance site speed; and social media plugins, which allow seamless sharing and connectivity. Additionally, there exist specialized plugins for creating custom post types, managing SEO, and integrating with third-party services. Understanding the different types of available plugins is crucial for users looking to choose tools that align with their specific site objectives.
Choosing the right plugins is not merely a matter of convenience; it directly impacts website performance and security. An excessive number of poorly coded plugins can slow down a site and expose it to vulnerabilities. Therefore, it is advisable to conduct careful research regarding each plugin's reputation, user reviews, and compatibility with the current version of WordPress. Furthermore, a well-structured plugin installation guide helps streamline the process of adding plugins, ensuring that users can enhance their websites efficiently. With the right approach and knowledge on how to add plugins in WordPress, novices can transform their sites into robust and adaptable platforms. Remember, a well-chosen plugin can unlock the full potential of your WordPress dashboard.
Automatic Installation of Plugins via the WordPress Dashboard
Installing a WordPress plugin using the WordPress dashboard is one of the simplest and most efficient methods for beginners. This method allows users to automatically search for and install plugins directly from their website's administrative interface, significantly easing the process of adding desired functionality.
To begin, log in to your WordPress dashboard. On the left-hand menu, locate and click on the ‘Plugins’ section. Once in the Plugins area, you will see two sub-sections: Installed Plugins and Add New. Click on ‘Add New’ to proceed. This will take you to a page where you can browse featured plugins or use the search bar to find a specific plugin.
Type the name or keywords associated with the plugin you wish to install in the search bar. As you type, suggestions may appear beneath the search field. Review the results carefully; upon finding your desired plugin, look for the ‘Install Now’ button. Click this button to initiate the installation process. Depending on the size and complexity of the plugin, this process typically takes only a few moments.
Once the installation is complete, the ‘Install Now’ button will change to ‘Activate’. Make sure to click this button to enable the plugin on your WordPress site. It is critical to activate the plugin, as installing alone does not make it functional.
Beginners may encounter some common pitfalls during this process. Ensure you are installing plugins from reputable sources to avoid security risks. Additionally, always check for compatibility with your current WordPress version to prevent potential conflicts. By following these steps, users can effectively learn how to add plugins in WordPress, leading to a more customizable and robust website experience.
Manual Upload of Plugins via FTP
When it comes to extending the functionality of your WordPress site, knowing how to install a WordPress plugin manually can be invaluable, especially in scenarios where automatic installations are hindered, such as dealing with large files. A manual installation via FTP (File Transfer Protocol) allows you to upload plugins directly to your server and can be especially useful for beginners who are unfamiliar with the WordPress dashboard.
The first step in this process is to obtain the plugin file you wish to install. This is generally available as a .zip file from the WordPress Plugin Repository or from a third-party source. After downloading the file, it's essential to extract its contents, as the uploaded files need to be in their individual folder structure. For example, if the plugin is named "example-plugin," the folder should contain files like example-plugin.php, readme.txt, and other associated files or directories.
Next, you will need an FTP client to facilitate the file transfer. Popular clients include FileZilla, Cyberduck, and WinSCP. After installing your chosen FTP client, launch it and enter your server's FTP credentials, which typically consist of the hostname, username, and password. These details can usually be obtained from your hosting provider. Once connected, navigate to the /wp-content/plugins/ directory on your server, where all plugins are stored.
To upload your newly extracted plugin folder, simply drag and drop it from your local system into the plugins directory in your FTP client. The upload process may take a few moments, depending on the size of the plugin files. After the upload is complete, return to your WordPress dashboard, where the plugin can now be activated by navigating to Plugins > Installed Plugins. By understanding how to add a plugin in WordPress this way, users can overcome obstacles that may arise with automatic installations.
Troubleshooting and Common Issues
Installing WordPress plugins can sometimes lead to unexpected issues, particularly for beginners. Understanding these common challenges and how to address them is essential for maintaining a smooth website experience. Whether you are following a WordPress plugin tutorial or using a plugin installation guide, being prepared for potential hiccups can save you time and frustration.
One of the most frequent issues encountered is plugin conflicts. This occurs when two or more plugins attempt to modify the same functionality or area of your site, causing performance problems or unexpected behavior. If you notice that a plugin is not working as intended, consider deactivating all plugins and reactivating them one by one to identify the conflicting ones. This systematic approach helps to pinpoint specific plugins that may need updates or replacements.
Another common issue is installation errors, which can arise during both automatic and manual installations. For users opting for manual plugin uploads, follow the correct procedure: download the plugin’s .zip file, navigate to the WordPress dashboard, and select the option to upload the plugin. If you encounter errors while doing this, check if your server allows file uploads of the required size or if there are any permissions issues. Ensuring that you have the latest version of WordPress can also mitigate many installation problems.
Outdated plugins present another challenge, as they can lead to incompatibility with newer versions of WordPress or introduce security vulnerabilities. Regularly reviewing and updating your plugins is vital, as this practice ensures you benefit from the latest features and fixes. If you are unsure how to add a plugin in WordPress or face issues when trying to install updates, consulting the current documentation or reaching out for community support can also be beneficial.
By addressing these common issues and utilizing available resources, users can ensure their plugins function optimally, enhancing their overall WordPress experience.


